


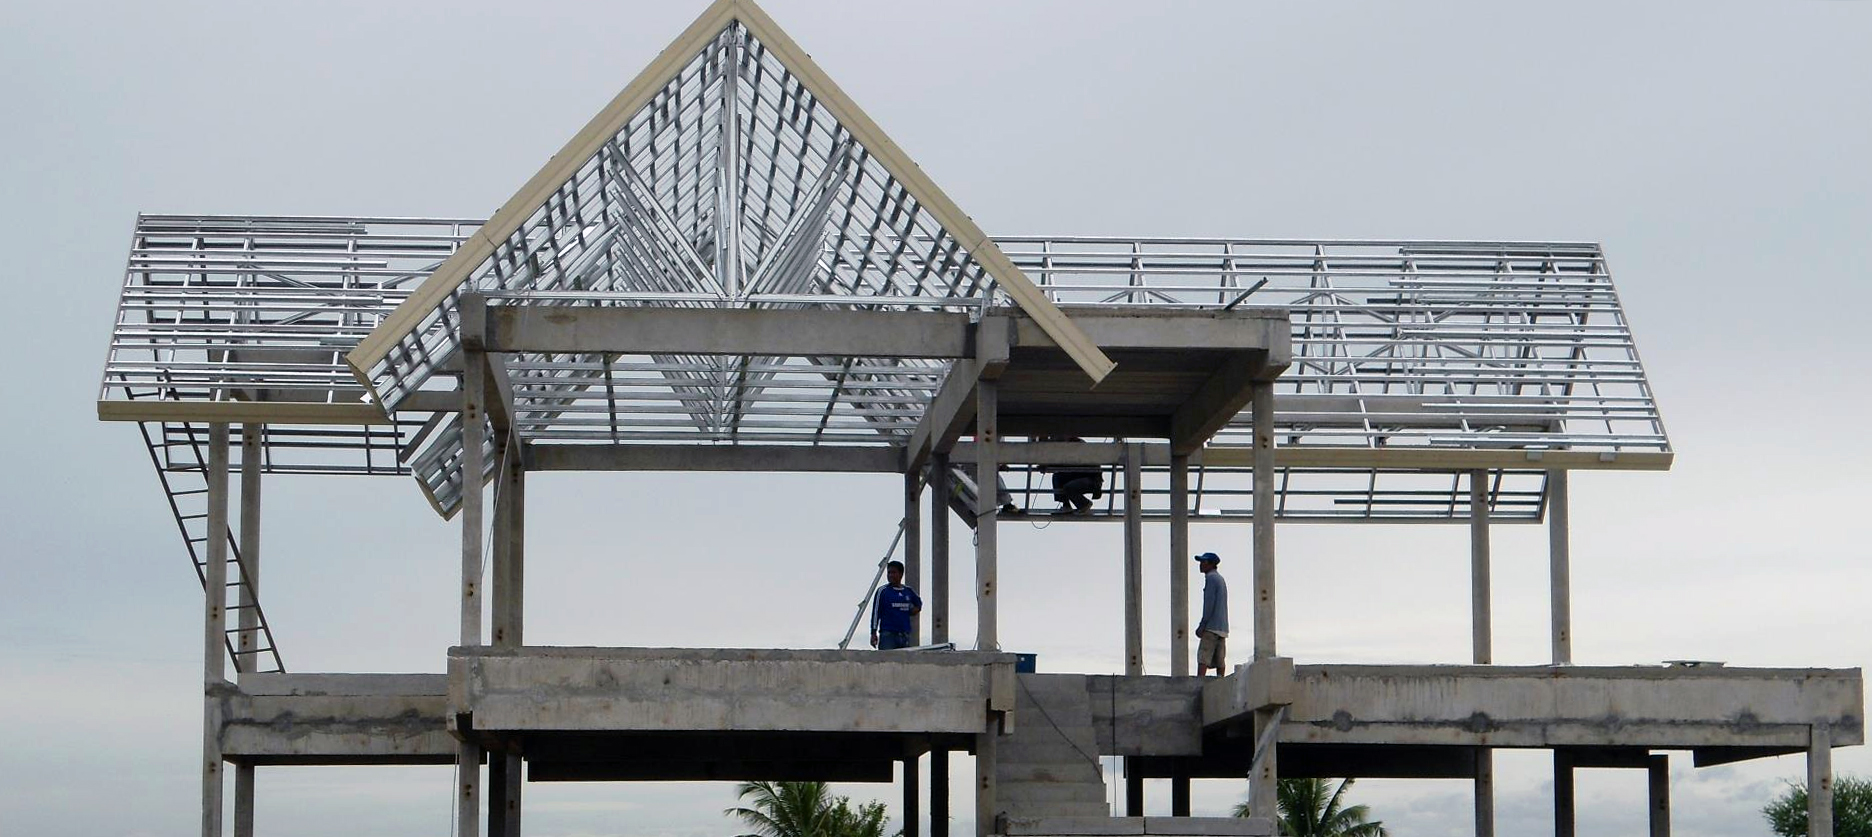
“Steel” is more widely used for roof truss to support roofing materials.Steel that used for this purpose are 1) sections and 2) galvanized steel.Currently,galvanized steel tends to be more popular because
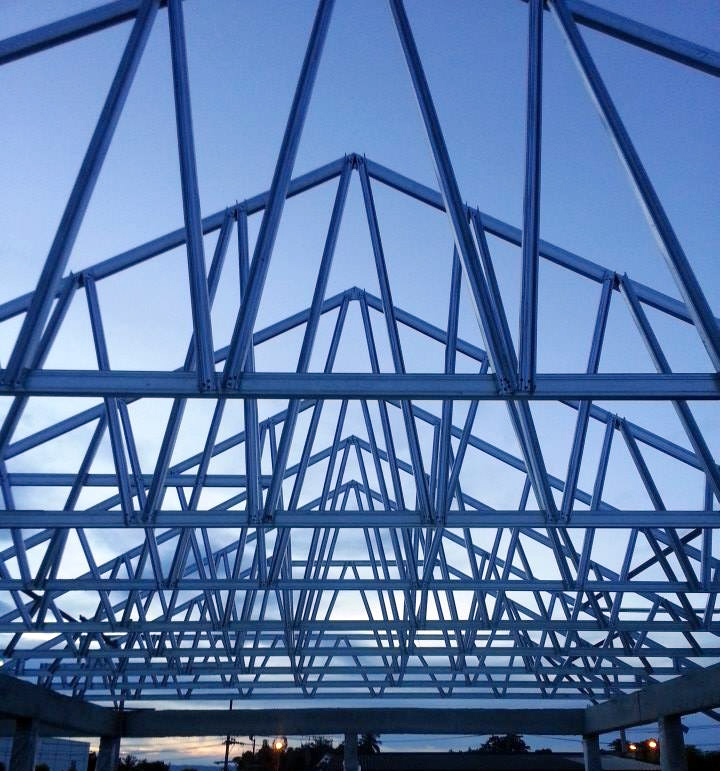
• Light weight but resist more tensile strength
• No need for anti-rust paint because it was galvanized in the production process.
• Roof truss is designed by computer program of the manufacturer so the size of each member is precisely cut
from the factory so the waste residual is reduced.
from the factory so the waste residual is reduced.
• Reduce the installing process in the construction.
• Many manufacturers for our choices such as SCG ,SMART TRUSS,THANACOON or MASTER TRUSS
However,roof truss installing should be checked before and after installing so it can be sure that it is installed as the engineer designed and the architectural form such as level of the beam, beam line and truss position is as specified in the drawing.
Roof truss assemble checking
• The assemble of roof truss is in accordance with the drawing, no members left,3 screws are used and the plate is fixed as the manufacturer specified.
• The span of each truss is in accordance with the drawing (for different shape of the roofs and tiles need different span).
• Check the purlin span if it is in accordance with the roof tile, for example,32-34 cm. for CPAC MONIER,NEWSTILE 27-29 cm.
• Check the span of the purlin connection, the span for CPAC MONIER is 20cm. overlap with 4 screws for each side and the span for NEWSTILE or flat sheet is 30 cm. butt joint.

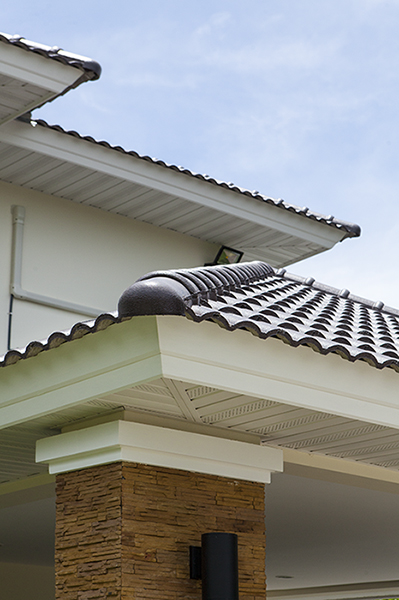
Eave Installing
To install eaves, scaffold should be used instead of let the worker climb up on the roof truss because the weight of the worker will deform the shape of the truss.
Direction
• Before installing, study the drawing to check the right angle with rafter.
• Check the long files by the eaves as drawing
• Put a pair of screw on top and bottom, the distance between the screws should not exceed 40cm.,drive the screw 2 mm. deep.
• In case the eave must be connected, the last piece should not less than 1.00 m. long.
• The connection of eaves should be cut 45 degree and Lanko No.003 should be applied to the connected area.
• The eaves level should be 2.5 cm. above the rafter to support the lowest tiles.
Best wishes from PD House Home Builder Center


